


Taylor Swift Dress

8/23/2024
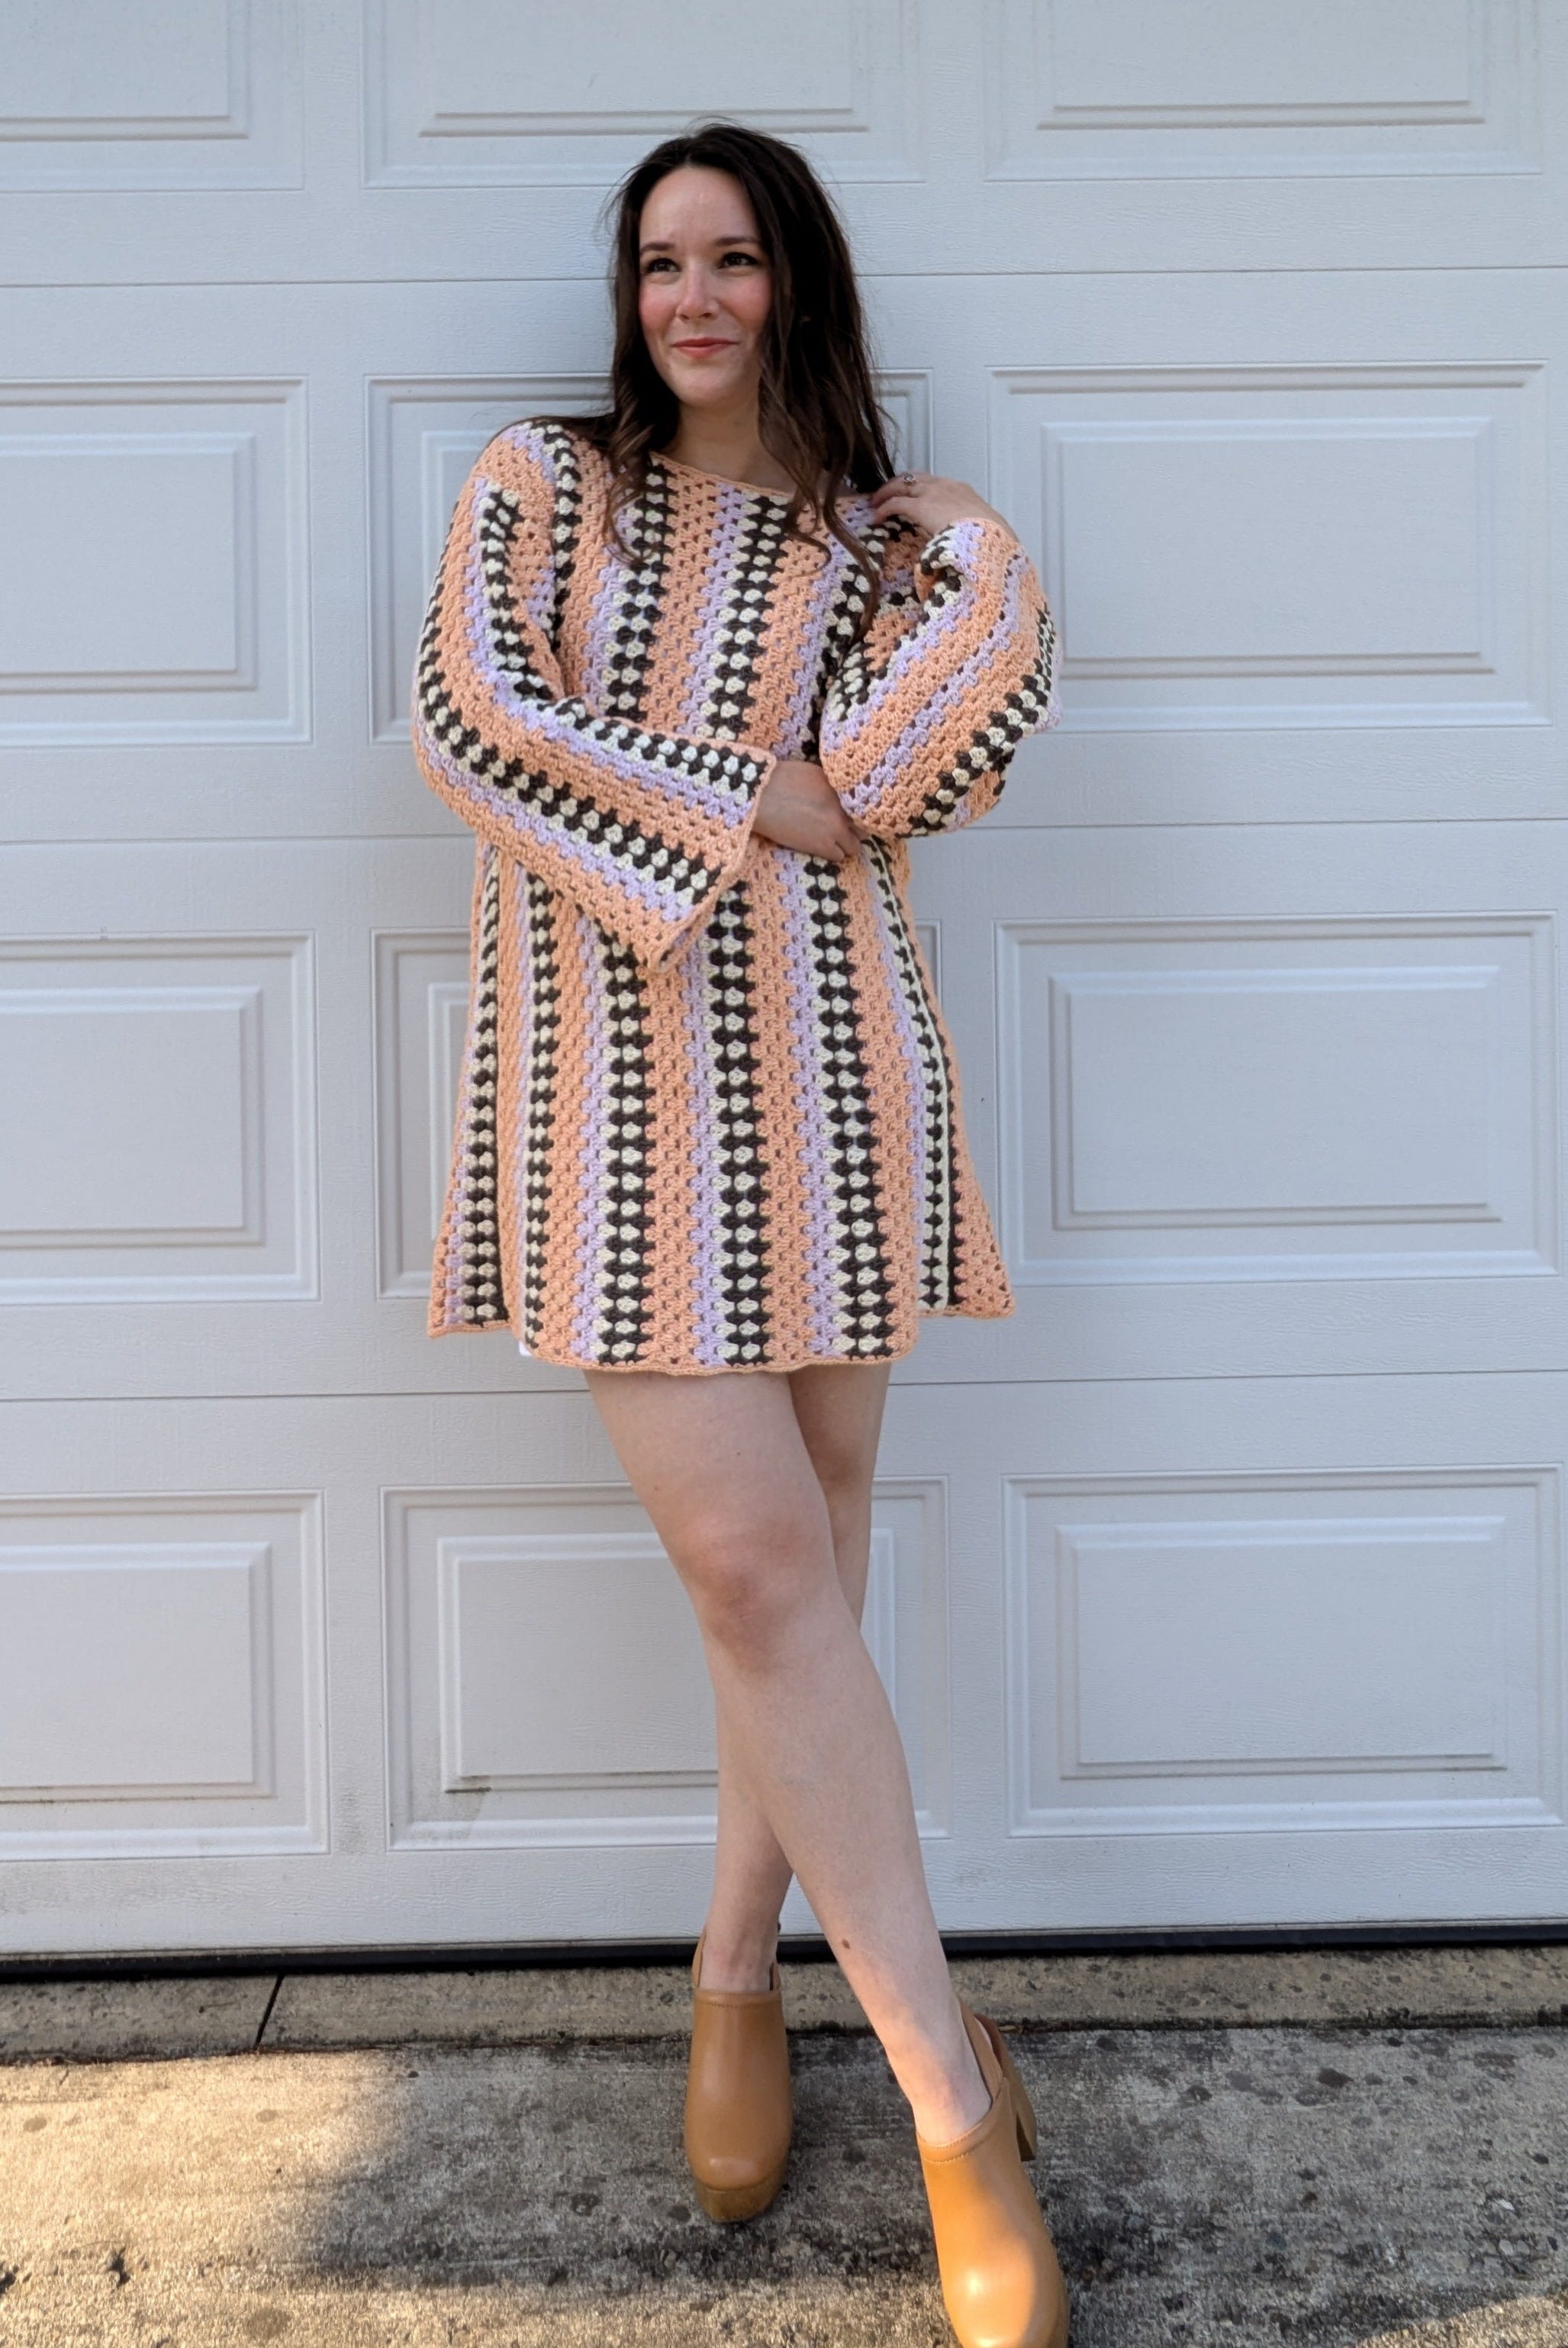
It's officially done! It was a labor of love (mostly lol). I'm overall happy with the final result, but there are definitely parts I wished turned out a little better.
Yarn: Purl Soho Cotton Pure in colors heirloom white, tabby cat, lavender rose, and peach peony.
Pattern: Sources of Fibre's videos on Instagram and TikTok.
Needles/Gauge: US 3 crochet hook
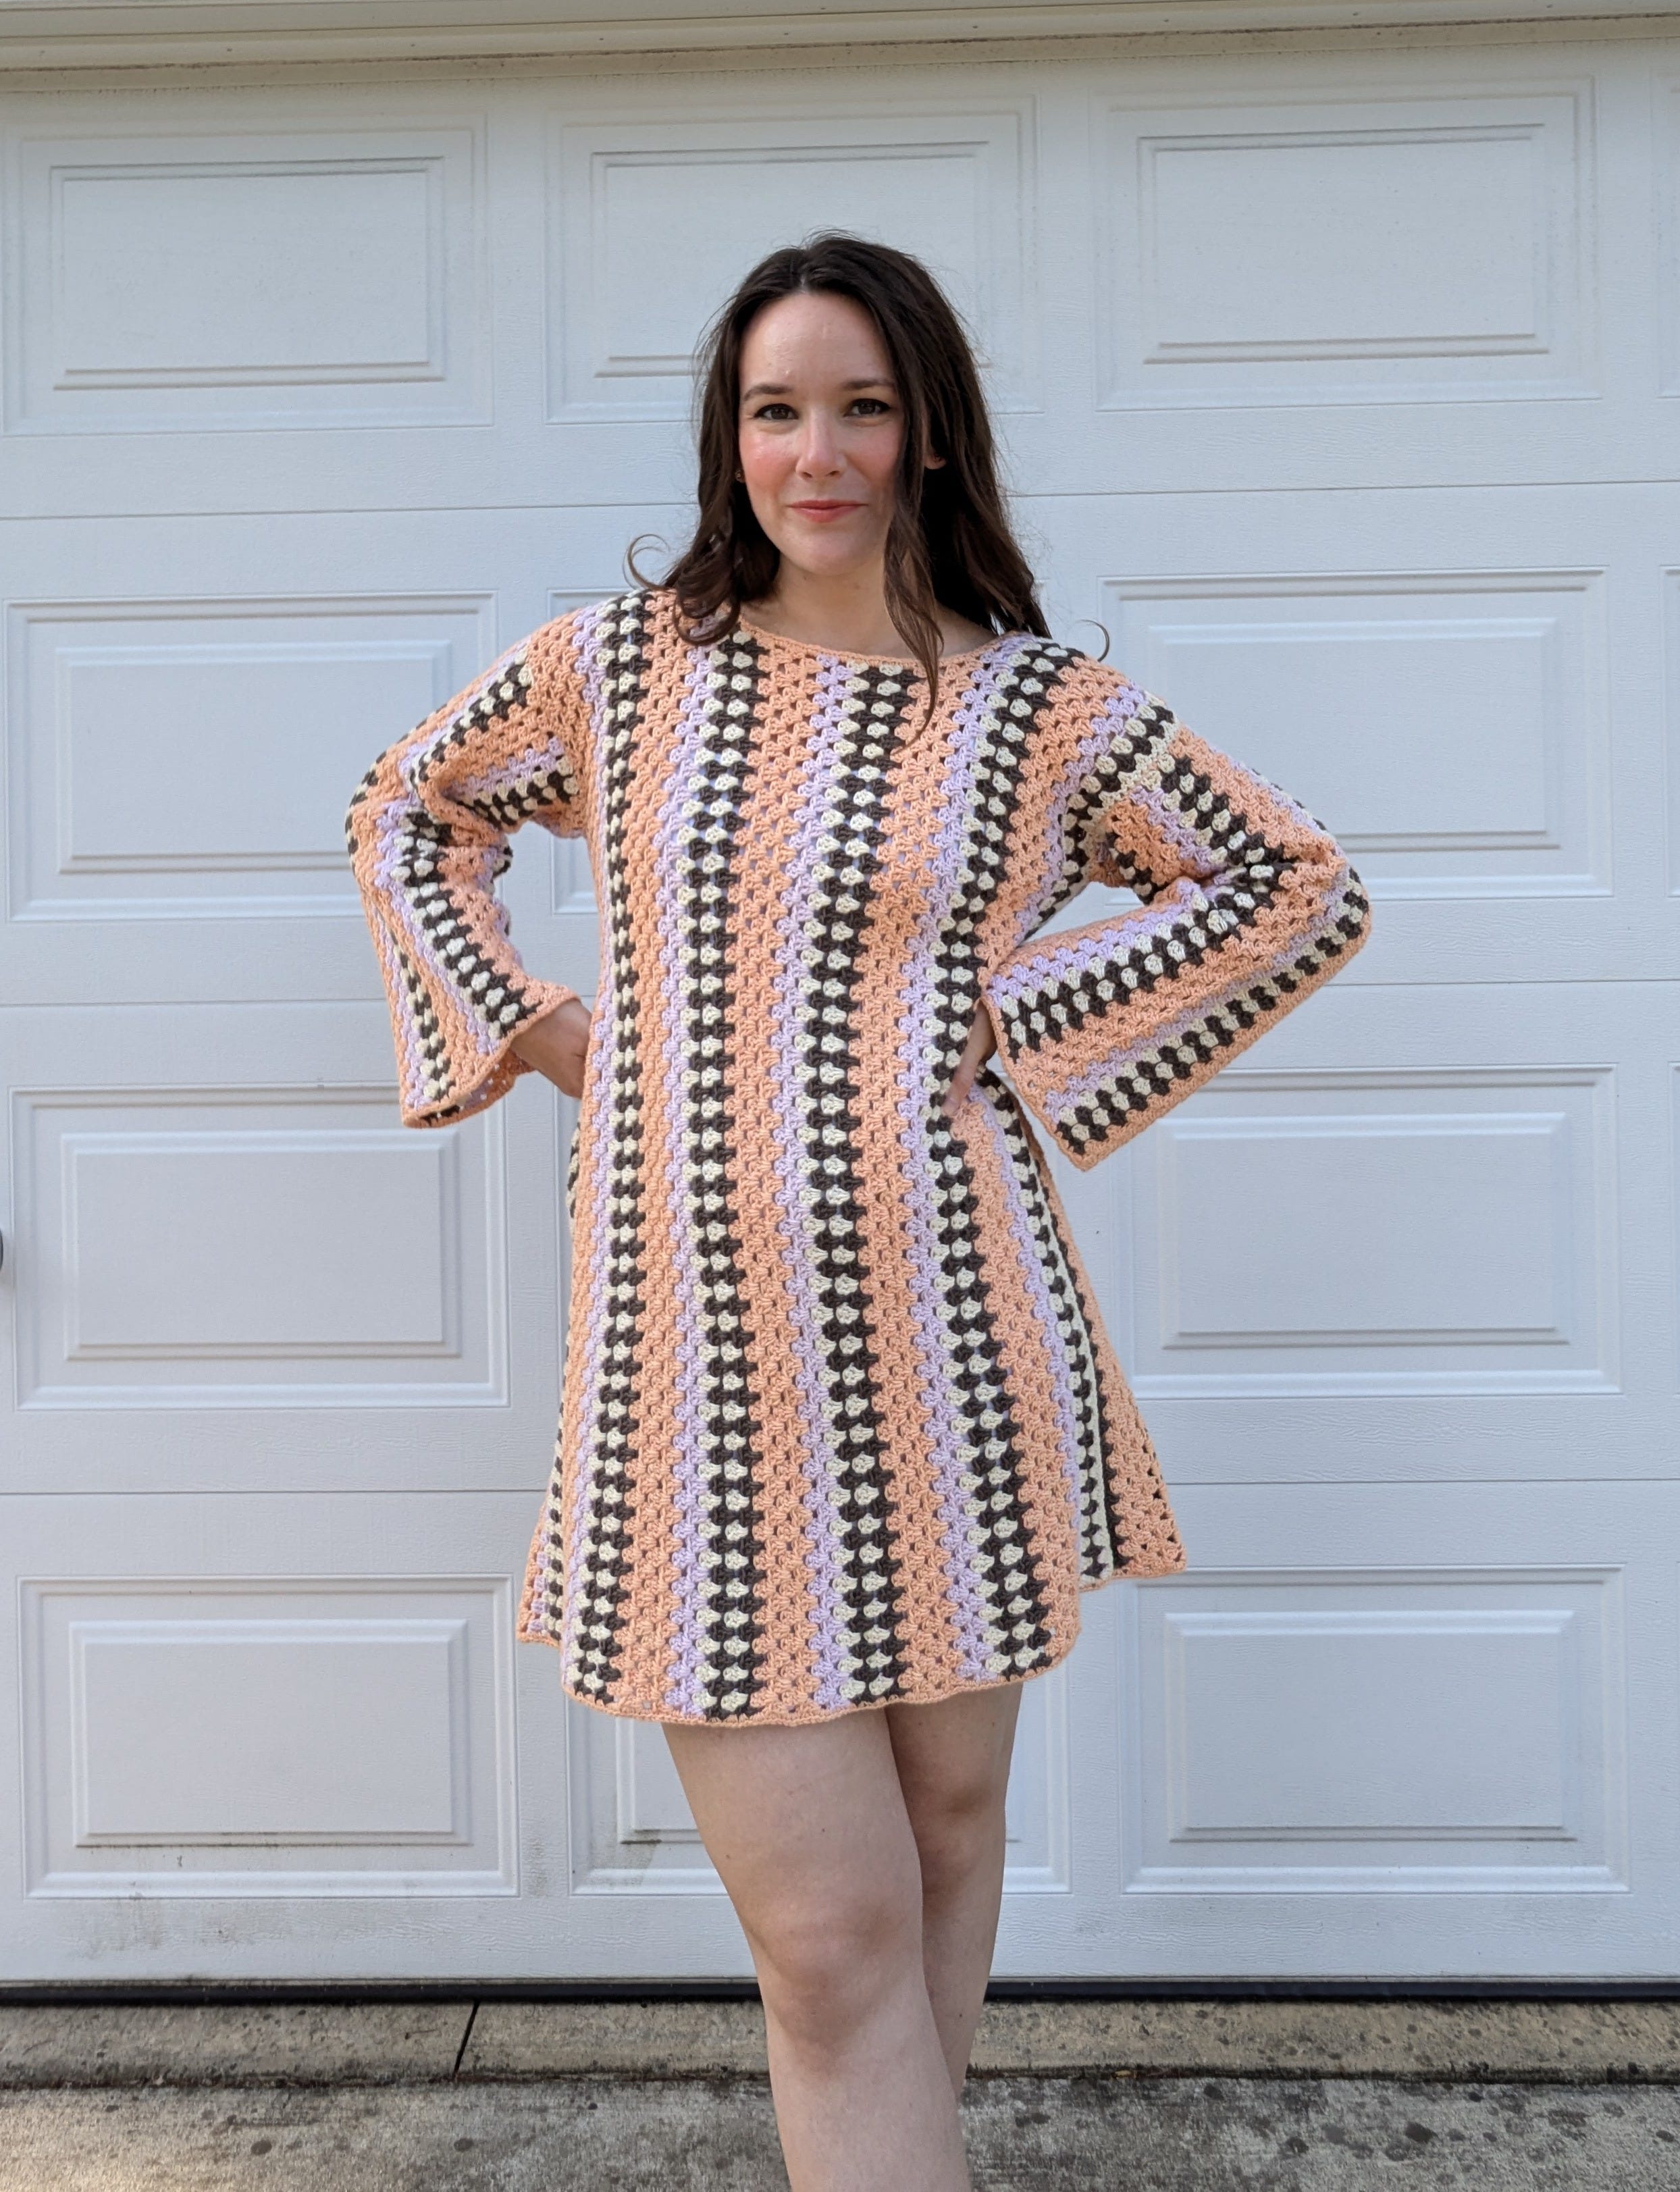
Process: I followed Source's of Fibre's videos pretty much exactly. Her videos were easy to understand and follow. Where I struggled was knowing how wide and long to make it. At first, I chained too many stitches, and the dress was hitting below my knee when I wanted it to hit more light mid thigh. So I had to start over. Then I felt like I had the width right, but once it was done, it was going to be too small. I didn't want to rip back, so I ended up adding more on the working end, and going back and adding to the cast on end. That led to the granny squares facing the opposite direction as the rest of the garment, but I didn't think it was super noticeable, so I went with it.
My next major frustration was when I finished the back panel. I attached the front and back at the shoulders with stitch markers, just to quickly check the fit. When I tried it on, the front neckline was too low for me. So I had to rip back two thirds of the way back on the front and redo the neckline to make it higher and more of a subtle curve instead of the dramatic scoop. It was so frustrating haha.
Once I finished redoing the front, I was much happier when I tried it on again. But then I attached stitch markers are the side seams to figure out where the sleeves could be...and the garment was too small around my hips and butt. *sigh*. *cries in pear shape body*. I knew this would probably be an issue because I know I have a pear shape body. This has been a issue a lot when trying on dresses, high waisted pants, etc. So I figured out how much I needed to add to the bottom to make it fit, which was about 15 inches. However, the top fit perfectly. So I needed to figure out how to add to the bottom, while keeping the top the same.
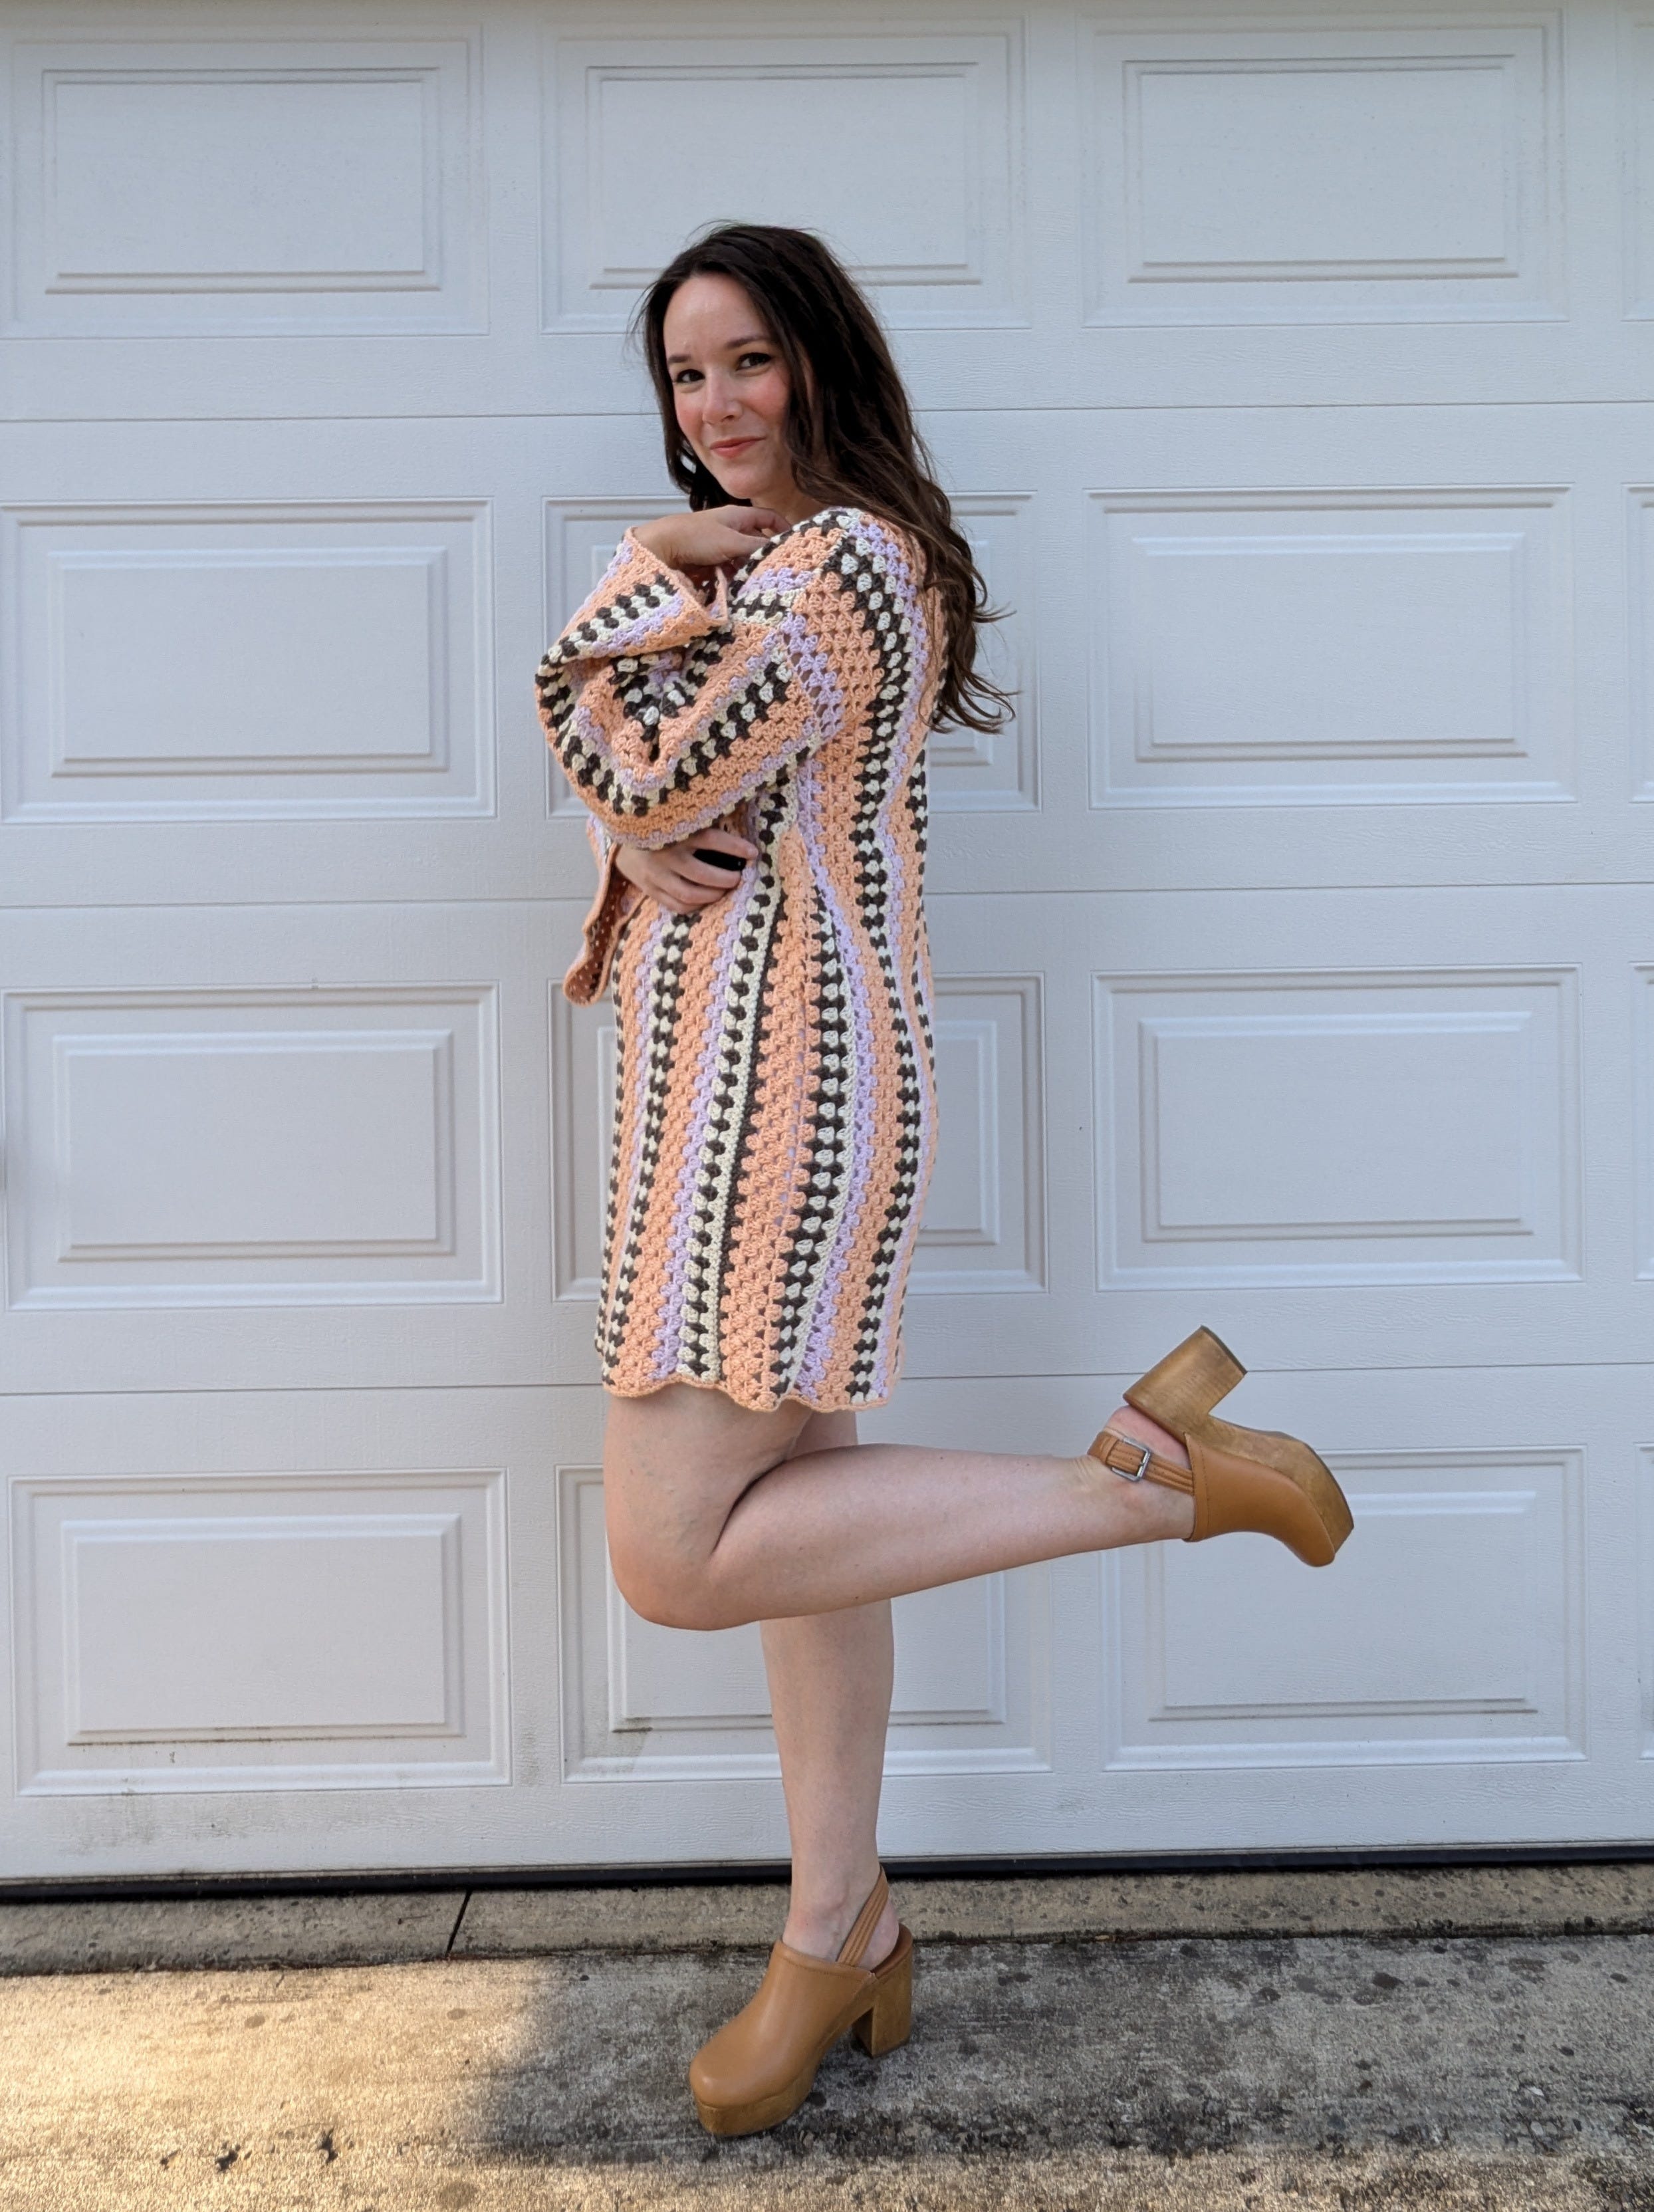
I decided to crochet triangles to insert at the side seams, which would change the shape of the garment from boxy to flair out. But the triangles would allow me to accommodate my bigger hip/butt while keeping the fit of the top the same. It's these triangles I'm not sure turned out that well.
I had to fiddle with the pattern a little to create a gradual, yet steep decrease for the point of the triangle. I also had to figure out how high to make them, and figure out the color pattern so it didn't stand out too much in the final garment.
Basically, I put a stitch marker where I wanted the triangle point to be, then counted how many clusters that part was to the bottom hem. I used that as my guide to figure out how many stitches to chain.
When I got the triangles to look like I wanted (which took, like, three tries haha), I started to stitch them to the side seams, careful to make sure the point of the triangle lined up where my stitch marker was. Once the triangles were attached, I tried it on to make sure my butt had enough room (lol). Then, I figured out how big I wanted the sleeve hole.
The sleeves where pretty straight forward. The only thing I did a little different from the video tutorial was measure to a different part of my arm. She holds the measuring tape in her palm, but I measured to my wrist, and then subtracted a couple of centimeters to account for stretch and blocking.
After the sleeves were done and attached, it was time to do all the edging. There were a lot of ends from changing colors, but luckily I could crochet them in as I went. After that, I weaved in any ends from switching skeins mid row, cut random ends sticking out from the edging, and I was done! I do feel like I had too many stitches in my edging; it's a little wavy, but I'm not about to rip back and do it again haha so it is what it is. And I don't think it looks bad. On my final try on, I noticed the top parts of the triangles puckered and it looked weird. I hoped blocking would fix that, but it didn't. I'm not happy with that puckering because it looks odd, and makes the garment look less flattering. But I'm just going to have to get used to it, because I'm for sure not going to fix it now. I kinda just tuck them in a little when I wear this dress, so it's not as noticable. Maybe I can sew the pucker back on the inside. We'll see.
Overall, I'm happy with this dress! I loved my yarn choice. The cotton pure was so nice to work with and is very soft for being 100% cotton. I loved my color choices as well! I knew I wouldn't wear the colors in Taylor's actual dress, so I didn't try to match the dress exactly. I went with the same basic colors, but different shades. I like the more pastel color palette, and knew I would wear it more, so that's what I went on the hunt for.
I was so excited for this project, and while it had its ups and down during the actual making process, I do love the final product! It's really cute and my own version of Taylor's dress. I can't wait to wear it for the rest of summer!